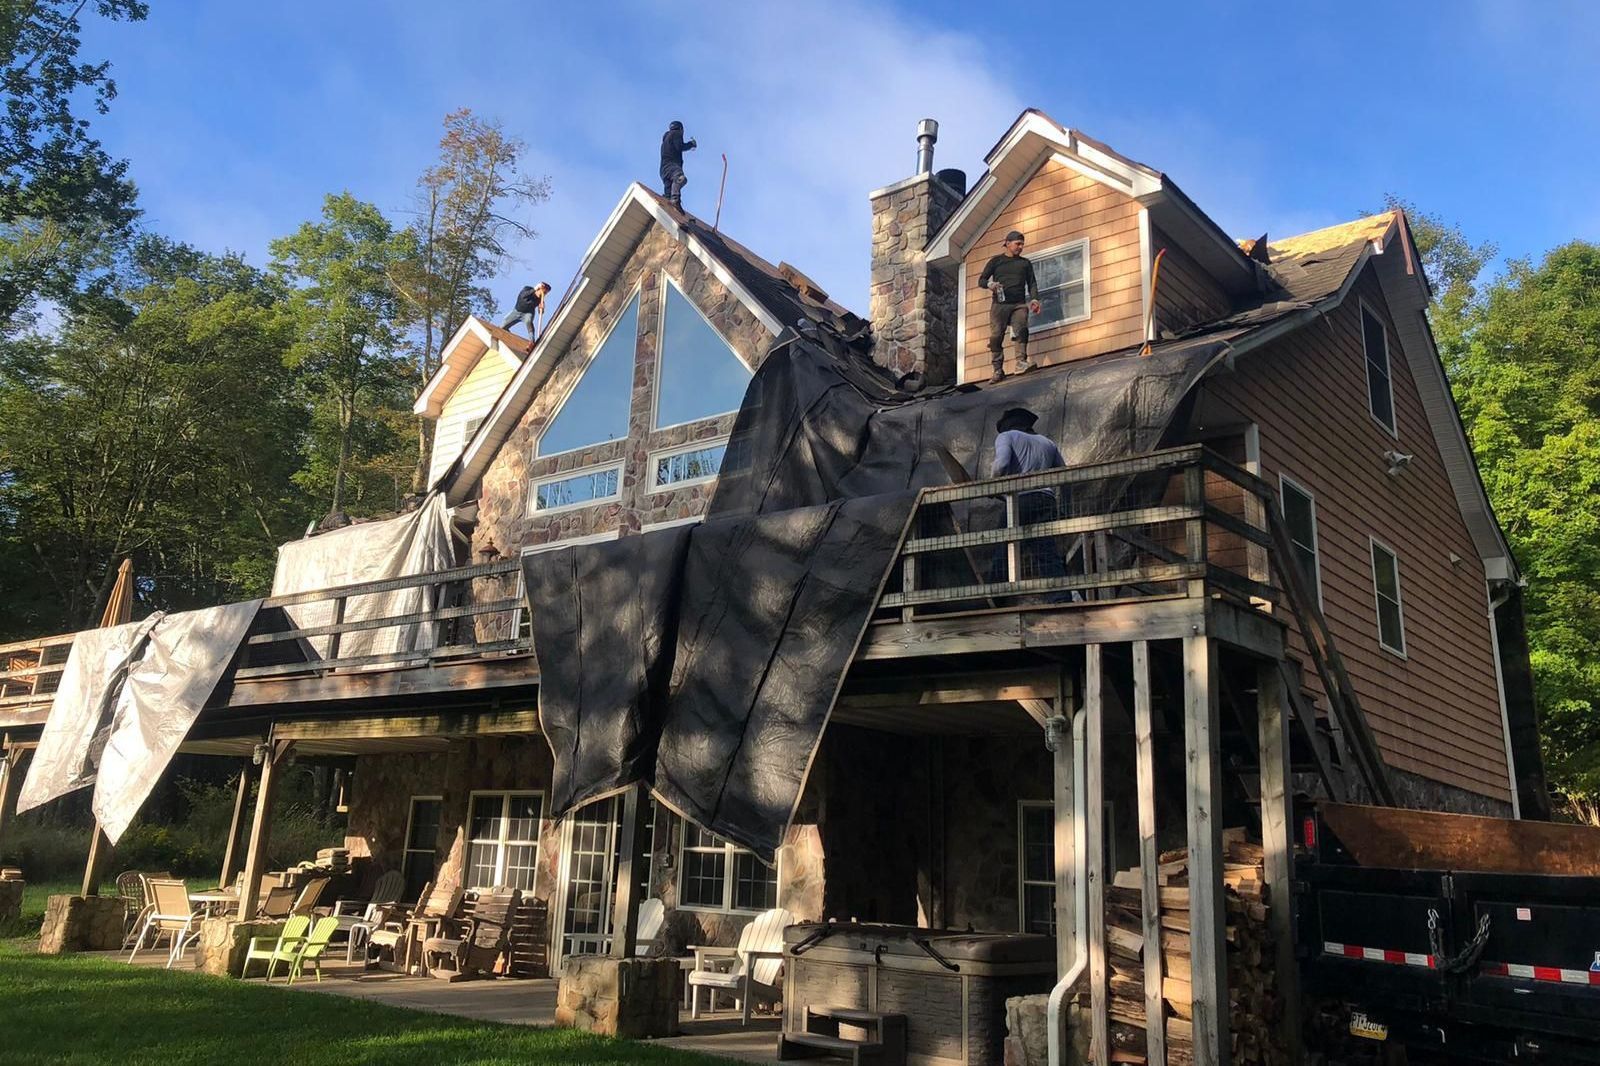
How to Properly Tarp a Leaking Roof
When unexpected roof leaks strike, it's crucial to take immediate action to prevent further damage to your home. Temporary fixes can make all the difference until a professional roofing contractor can address the issue permanently. In this guide, brought to you by Frankie Contractor LLC, we'll outline the step-by-step process for properly tarping a leaking roof.
I. Gather Materials and Tools:
Before you embark on this DIY emergency repair, make sure you have the following materials and tools ready:
- Tarps (choose the appropriate size and quantity)
- Ladder
- Safety harness and equipment
- Nails or screws
- Hammer or screwdriver
- Rope or bungee cords
- Work gloves
- Utility knife
- Waterproof sealant (optional)
II. Assess the Situation:
Begin by assessing the extent of the damage and locating the source of the leak. Check the roof's slope and condition and identify any potential safety hazards, such as nearby power lines.
III. Prepare the Roof:
Safety first! Use a stable ladder and clear away any debris or loose shingles. Make sure the roof is a safe working environment and address any immediate repair needs.
IV. Position the Tarp:
- Unroll the tarp on the roof's edge.
- Align the tarp to cover the damaged area and extend beyond it.
- Secure the tarp's corners with bricks, boards, or heavy objects.
- Use nails or screws to fasten the tarp's edges to the roof, taking care not to puncture the tarp.
- Apply waterproof sealant along the edges and seams for extra protection (optional).
V. Secure the Tarp:
- Attach ropes or bungee cords to the tarp's grommets.
- Anchor the ropes or cords to secure points on the roof, such as chimneys or roof vents.
- Ensure the tarp is stretched tightly and doesn't sag.
VI. Inspect and Test:
- Double-check the tarp's placement and fastenings.
- Look for any gaps or areas where water could penetrate.
- Test the tarp by spraying water onto it to confirm it diverts water away from the damaged area.
VII. Additional Repairs (Temporary):
While the tarp provides immediate protection, don't forget to address any immediate damage on the roof. This might include replacing missing shingles or sealing small cracks. However, always plan for a professional roof inspection and permanent repairs.
VIII. Safety Precautions:
- Be cautious of slippery roofs.
- Always use appropriate safety equipment, including a safety harness.
- Avoid working on the roof during adverse weather conditions.
- Have someone on the ground to assist if needed.
- Follow local safety regulations and guidelines.
Tarping a leaking roof is a temporary solution that can save you from costly damage to your home. However, it's essential to remember that this is not a substitute for professional roof repair. Contact Frankie Contractor LLC for a thorough inspection and permanent fix to ensure your roof is in top condition, protecting your home for years to come. Don't let a leak rain on your parade – trust the experts to keep your roof strong and secure.